 By
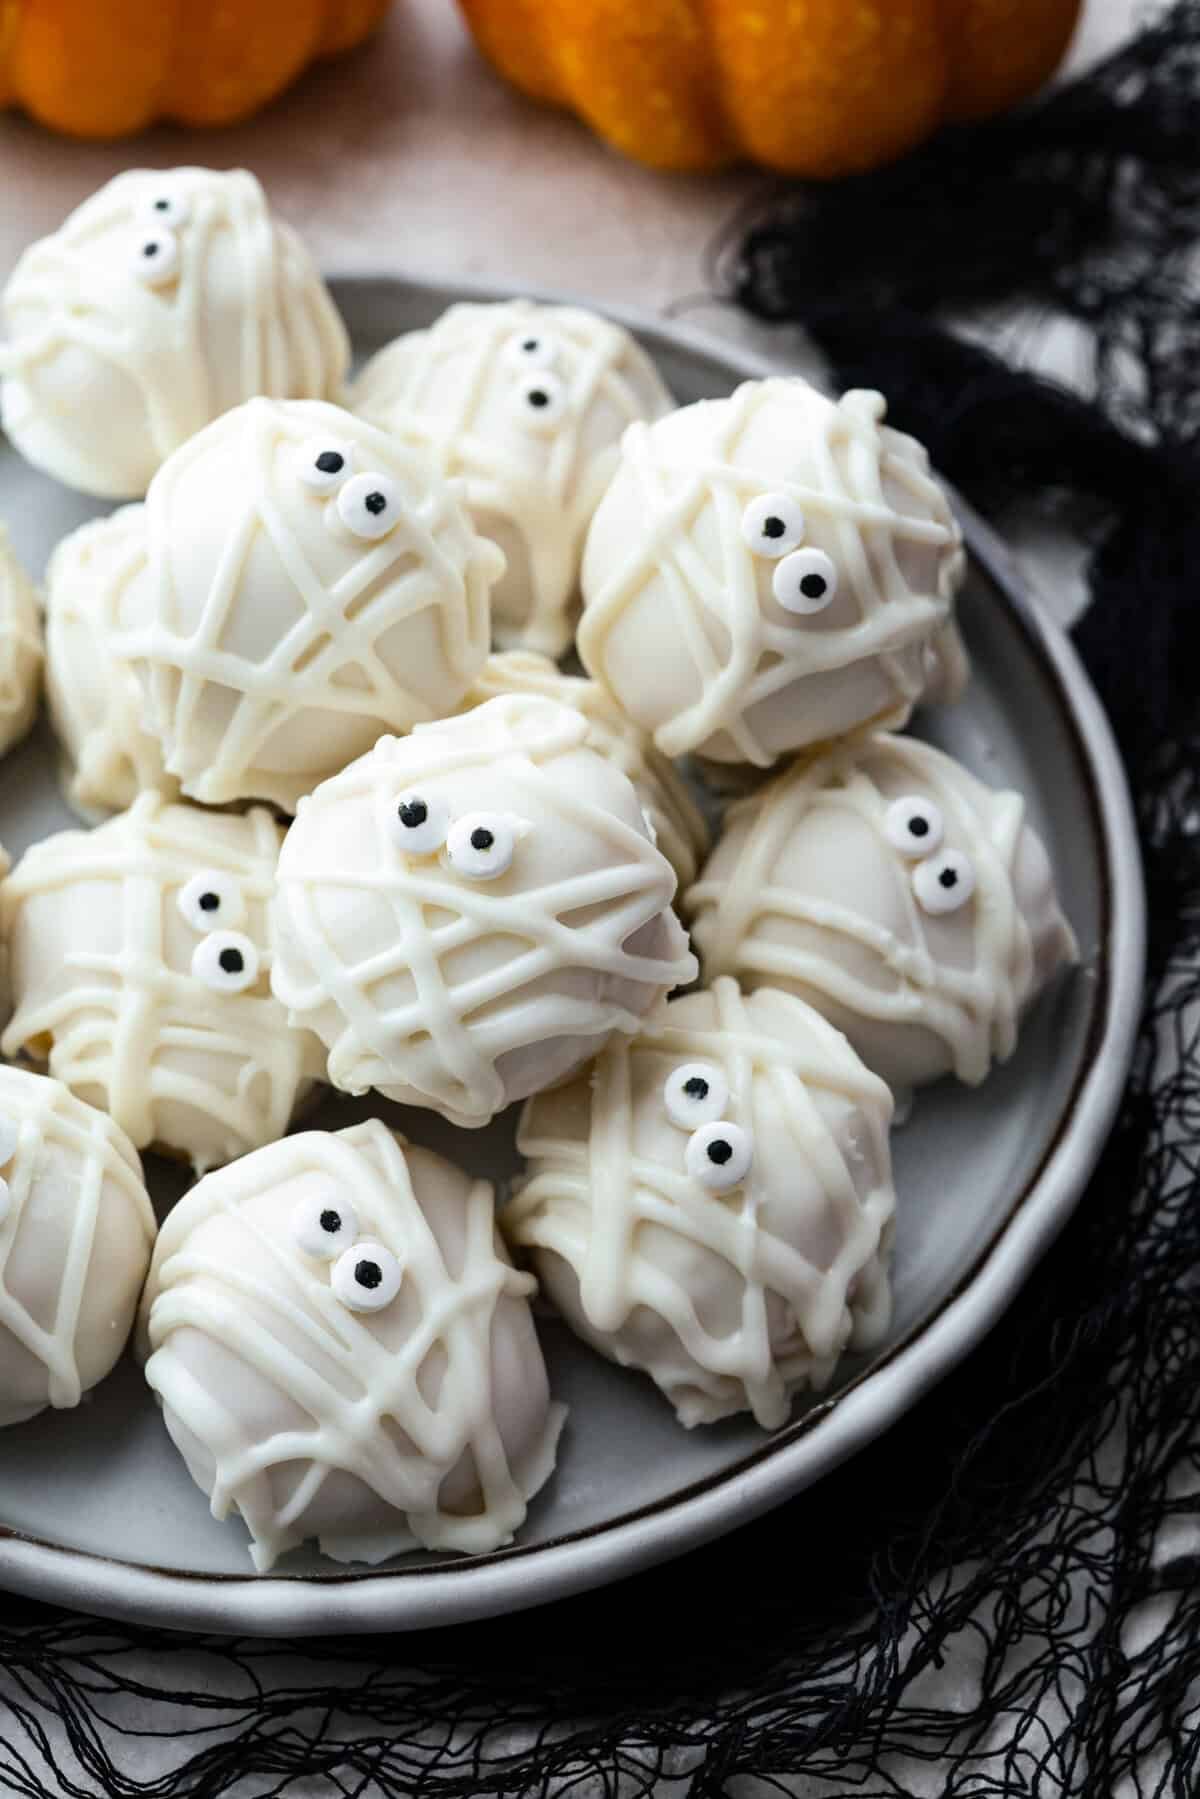
Mummy Oreo Balls are one of those fun Halloween desserts that look adorable on a party platter but are surprisingly easy to make. With crushed Oreo cookies, creamy cream cheese, and a smooth white chocolate coating, these little treats taste like a rich Oreo cheesecake bite. The mummy-style white chocolate drizzle and tiny candy eyes make them extra cute for Halloween parties.
I love recipes like this because you don’t need to turn on the oven or spend hours decorating. Even kids can help with adding the candy eyes, and honestly, the slightly messy mummy wrapping makes each Oreo ball look more fun!
Why You’ll Love These Mummy Oreo Balls
- No-bake Halloween dessert: No oven is needed, making this recipe simple for busy October days.
- Only a few ingredients: You need Oreo cookies, cream cheese, white chocolate, and candy eyes.
- Perfect party treat: These Halloween Oreo balls look great on dessert tables, school parties, and family gatherings.
- Make-ahead friendly: Prepare them a day before your Halloween celebration and keep them refrigerated.
How I Came Across This Recipe
I wanted a Halloween dessert that looked festive without requiring complicated baking or special decorating skills. Oreo truffles were already a favorite because of their creamy center, so I thought, why not turn them into little mummies? Adding white chocolate strips and candy eyes makes an ordinary cookie ball feel special. The first few might look a little uneven, but that’s part of the charm!
My Best Tips for Perfect Halloween Oreo Balls
- Use regular Oreo cookies rather than Double Stuf, because the extra filling can make the mixture too soft.
- If the mixture feels sticky, refrigerate it for another 15 minutes before rolling.
- Use melting wafers for the neatest white chocolate coating.
- Don’t worry about perfectly straight bandages. Uneven lines actually make the mummies look more playful.
- Keep the Oreo balls cold while decorating, especially if your kitchen is warm.
How Much Does It Cost to Make?
The estimated cost is $10–$16 for 20 Mummy Oreo Balls, depending on your grocery store, chocolate brand, and candy decorations. That works out to approximately $0.50–$0.80 per treat. Buying ingredients on sale or using leftover candy eyes can reduce the cost.
When to Serve Mummy Oreo Balls
These treats are perfect for Halloween parties, October bake sales, school celebrations, fall movie nights, and spooky-themed birthday parties. Serve them when you want something sweet, playful, and easy to share. They’re especially fun for a cozy autumn evening with a Halloween movie and a mug of hot chocolate.
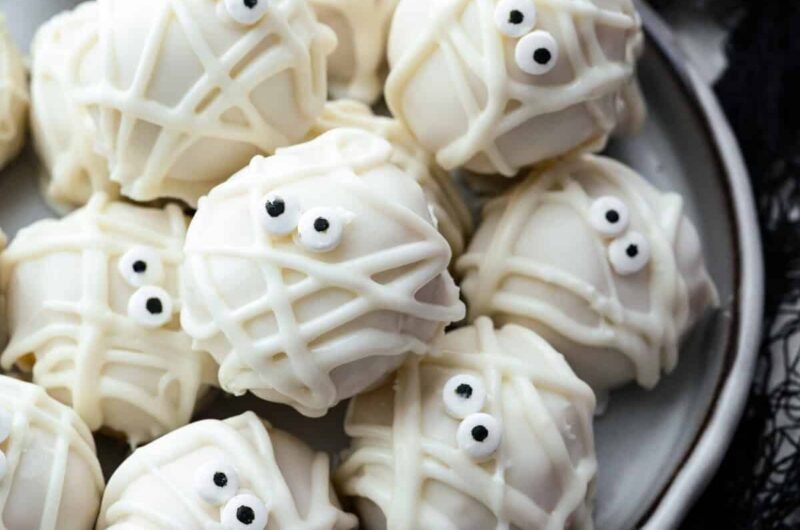
Mummy Oreo Balls – Easy No-Bake Halloween Treat
Course: DessertCuisine: AmericanDifficulty: Easy20 Oreo balls
servings25
minutes300
kcal1 hour 25 minutes
1 hour
Ingredients
- For the Oreo Balls
36 regular Oreo cookies: Use classic chocolate Oreo cookies, including the cream filling. Crush them into fine crumbs for a smooth, chocolatey center.
8 ounces full-fat cream cheese: Soften the cream cheese at room temperature for easier mixing. It gives the cookie crumbs a creamy, cheesecake-like texture.
12 ounces white chocolate melting wafers: These create the smooth white coating. Melting wafers are generally easier to work with than ordinary white chocolate chips.
- For the Mummy Decoration
2–3 ounces extra white chocolate: Melt this separately to create the mummy’s bandage-like drizzle.
40 small candy eyes: Use two eyes per Oreo ball. You may need to buy a small package because candy eyes come in different quantities.
Directions
- Place the Oreo cookies in a food processor and pulse until they become fine crumbs. If you don’t have one, put the cookies in a zip-top bag and crush them with a rolling pin.
- Add the softened cream cheese to the cookie crumbs. Mix until everything is combined and forms a thick, dark dough. There should be no large cream cheese streaks remaining.
- Scoop about 1 tablespoon of the mixture and roll it between your palms. Make 20 small, evenly sized balls and place them on a parchment-lined baking sheet.
- Refrigerate the Oreo balls for about 30–45 minutes. This step matters because chilled balls are easier to dip and less likely to fall apart in the melted chocolate.
- Place the melting wafers in a microwave-safe bowl. Heat in 20–30-second intervals, stirring after each interval, until smooth. Avoid overheating, because white chocolate can become thick or grainy.
- Use a fork or dipping tool to lower each chilled ball into the melted white chocolate. Lift it out, allow the excess chocolate to drip off, and return it to the parchment paper.
- While the coating is still wet, gently press two candy eyes onto each Oreo ball. If the coating sets too quickly, use a tiny dab of melted white chocolate as edible glue.
- Melt the remaining white chocolate in a clean microwave-safe bowl. Let it cool slightly if it seems too runny, but don’t allow it to harden.
- Use a spoon, piping bag, or zip-top bag with a tiny corner snipped off to drizzle thin lines across each ball. Cross the lines in different directions to create a wrapped mummy appearance. Leave the eyes visible.
- Refrigerate the finished Oreo balls for another 15–20 minutes, or until the chocolate decoration is firm. Keep them chilled until serving time.
Notes
- Use regular Oreo cookies rather than Double Stuf, because the extra filling can make the mixture too soft.
- If the mixture feels sticky, refrigerate it for another 15 minutes before rolling.
- Use melting wafers for the neatest white chocolate coating.
- Don’t worry about perfectly straight bandages. Uneven lines actually make the mummies look more playful.
- Keep the Oreo balls cold while decorating, especially if your kitchen is warm.
Nutrition Facts
20 servings per container
- Amount Per ServingCalories170
- % Daily Value *
- Total Fat
10g
13%
- Saturated Fat 6g 30%
- Sodium 95mg 5%
- Total Carbohydrate
19g
7%
- Total Sugars 14g
- Protein 2g 4%
* The % Daily Value tells you how much a nutrient in a serving of food contributes to a daily diet. 2,000 calories a day is used for general nutrition advice.
Frequently Asked Questions
1. Can I make Mummy Oreo Balls ahead of time?
Yes! Make them up to 2–3 days ahead and store them in an airtight container in the refrigerator.
2. Can I freeze Oreo balls?
Yes. Freeze the undecorated or fully decorated balls in a freezer-safe container for up to 2 months. Thaw overnight in the refrigerator before serving.
3. Can I use white chocolate chips instead of melting wafers?
Yes, but white chocolate chips may melt thicker and be harder to dip smoothly. A small amount of food-grade paramount crystals or a suitable candy-melting aid can help, following the product instructions.
4. Why are my Oreo balls falling apart?
The mixture may be too warm or too dry. Chill it before rolling, and check that you used the full cream filling from the cookies and the correct amount of cream cheese.
5. Do Mummy Oreo Balls need to be refrigerated?
Yes. Because they contain cream cheese, store them in the refrigerator and avoid leaving them at room temperature for more than 2 hours, or 1 hour when temperatures exceed 90°F.
6. Can kids help make this recipe?
Absolutely! Kids can roll the balls, place the candy eyes, and help drizzle the mummy bandages with adult supervision around melted chocolate.